Inverse-Square Law: Distance, Exposure & Falloff
Distance changes brightness and the feel of falloff across a form. This guide shows how to study that behavior in the Light Reference Generator— with or without Auto-Compensate for Distance.
Concept
Illumination decreases with the square of the distance: double the distance, get roughly one-quarter the illuminance. Practically, farther lights look dimmer and often more even across the subject (rays are more “parallel”).
// conceptual
E ∝ 1 / r^2

// Auto-compensation used by the tool:
I_effective = I_base * (r / r_ref)^2
Note: Auto-comp keeps the subject’s overall brightness similar while you change Distance, but you’ll still see differences in falloff and shadow character—that’s the point of the study.
Exercises
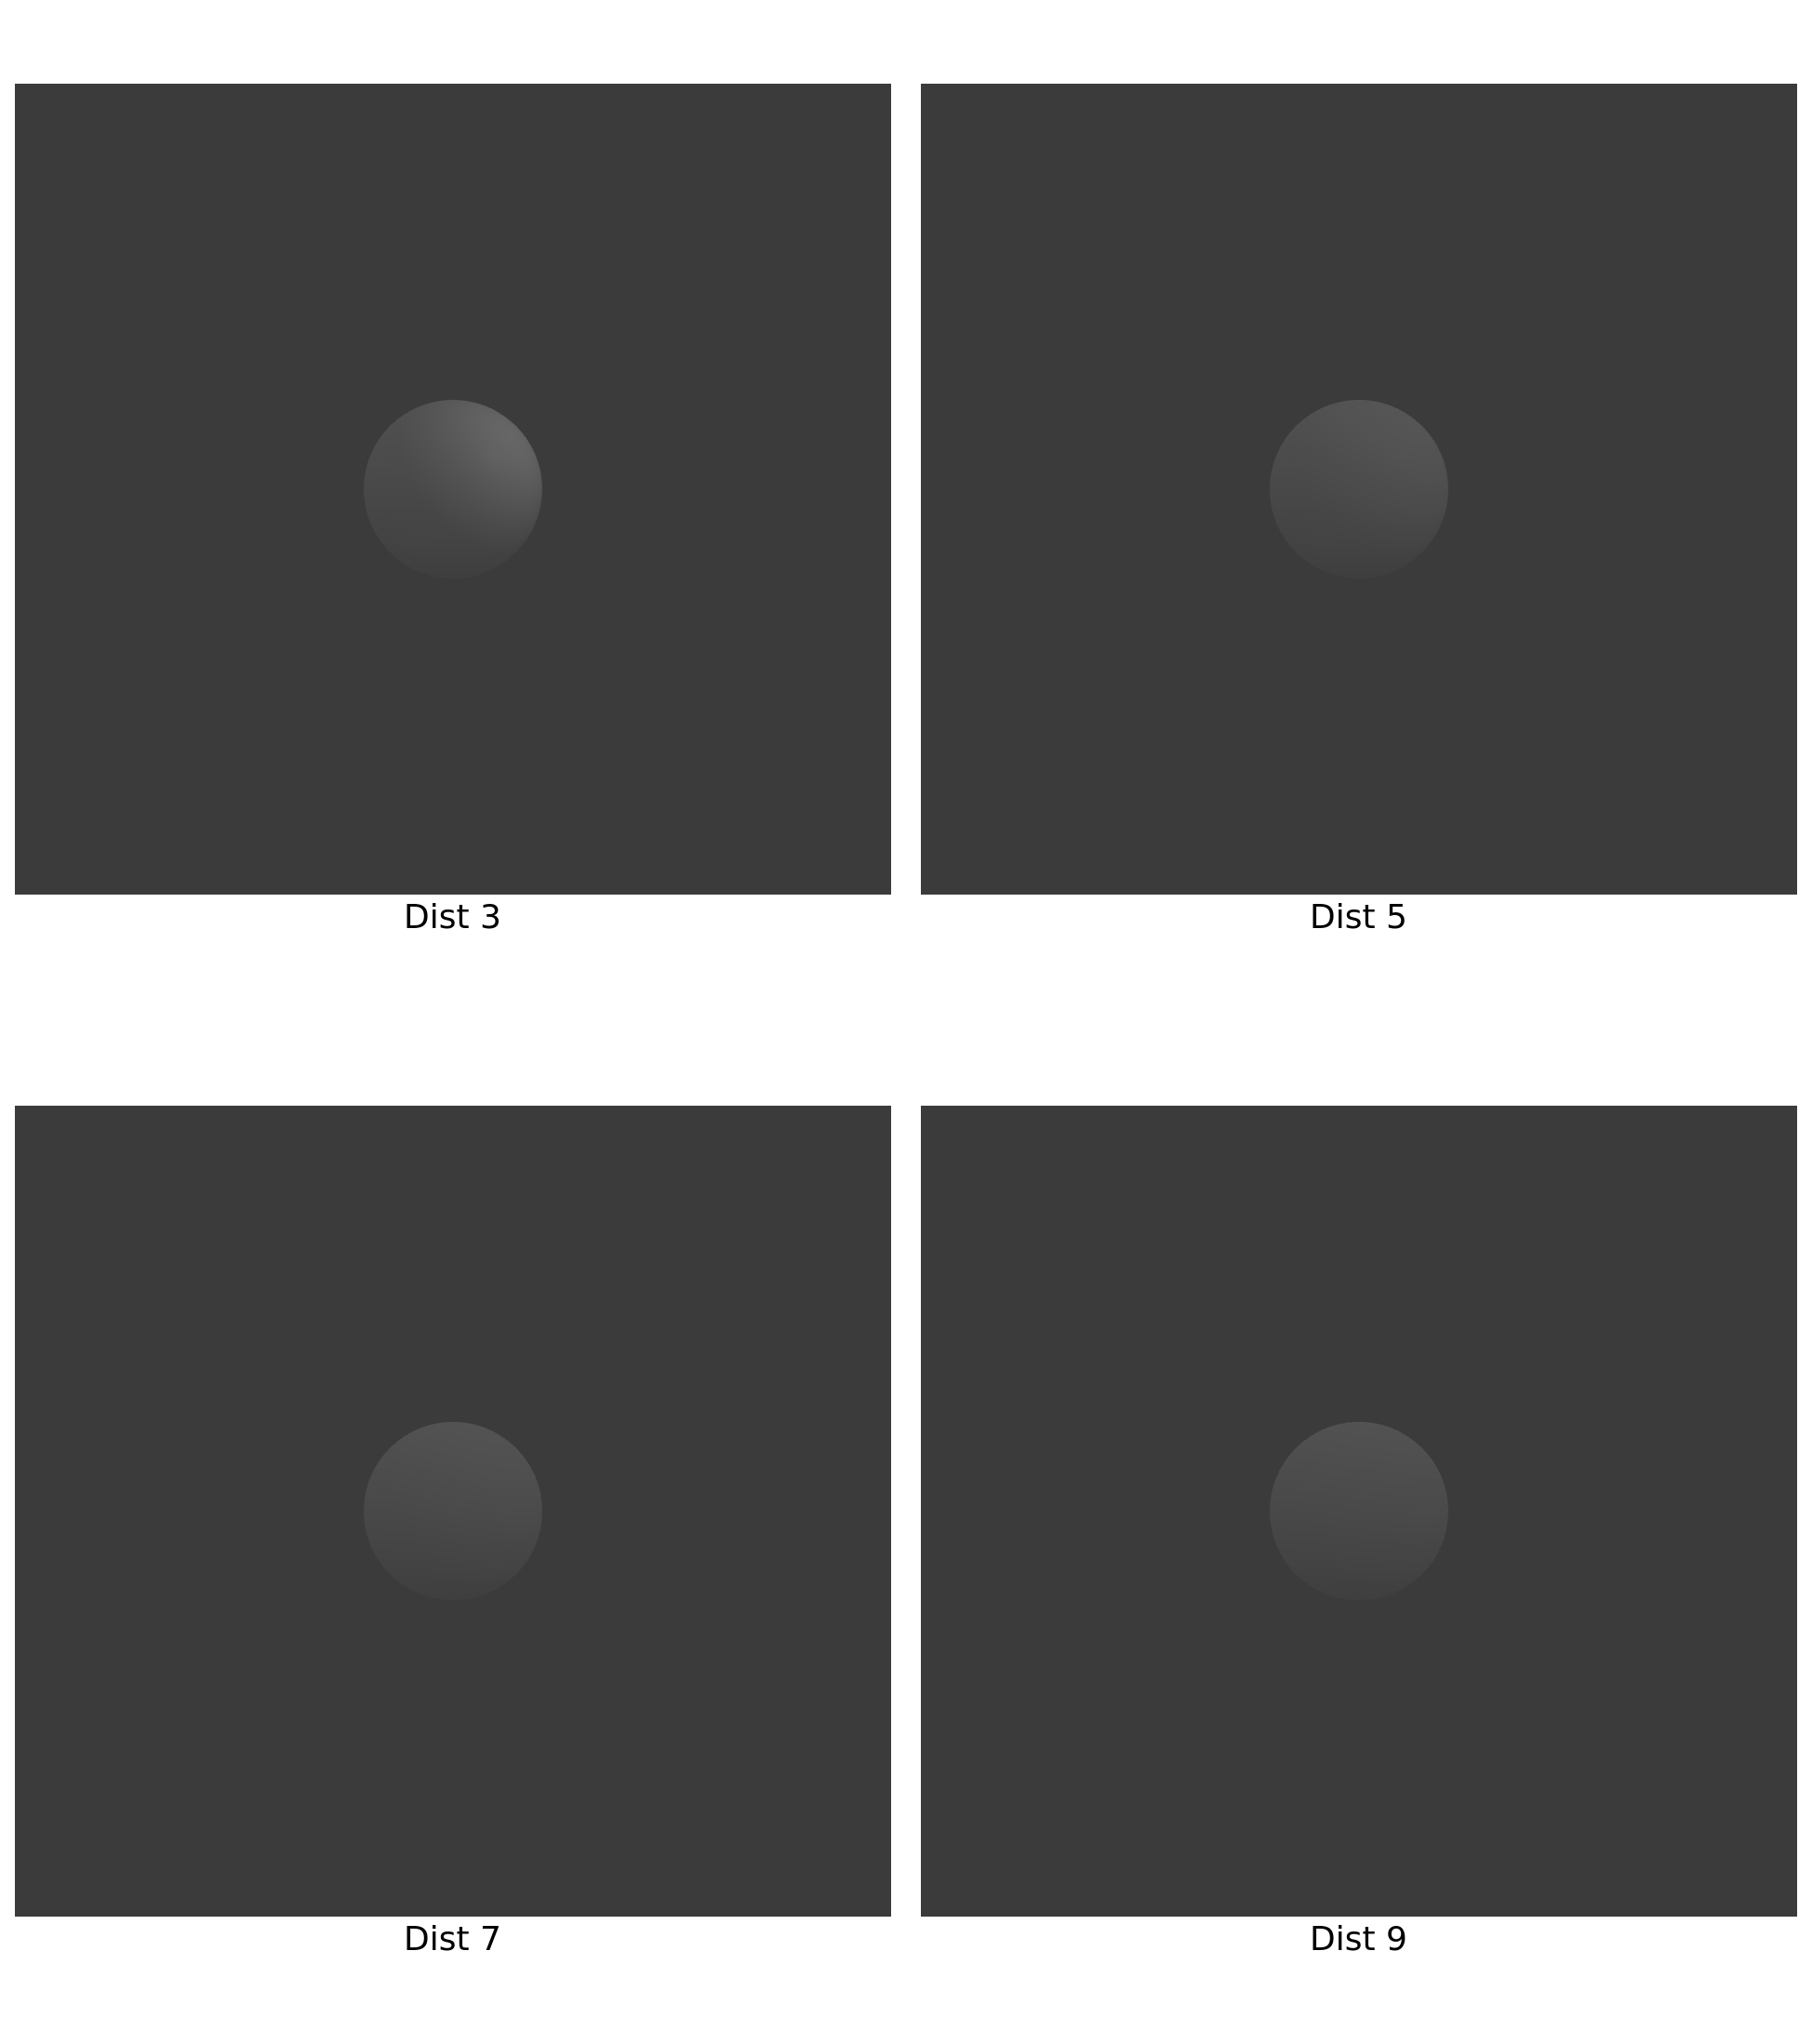
A) Pure Inverse-Square Feel (No Auto-Comp)
- Select the preset 3/4 Key (Hard).
- Disable Auto-Compensate.
- Set Distance to
3 → 9in steps. - Observe exposure loss and how the terminator slides/softens slightly with distance.
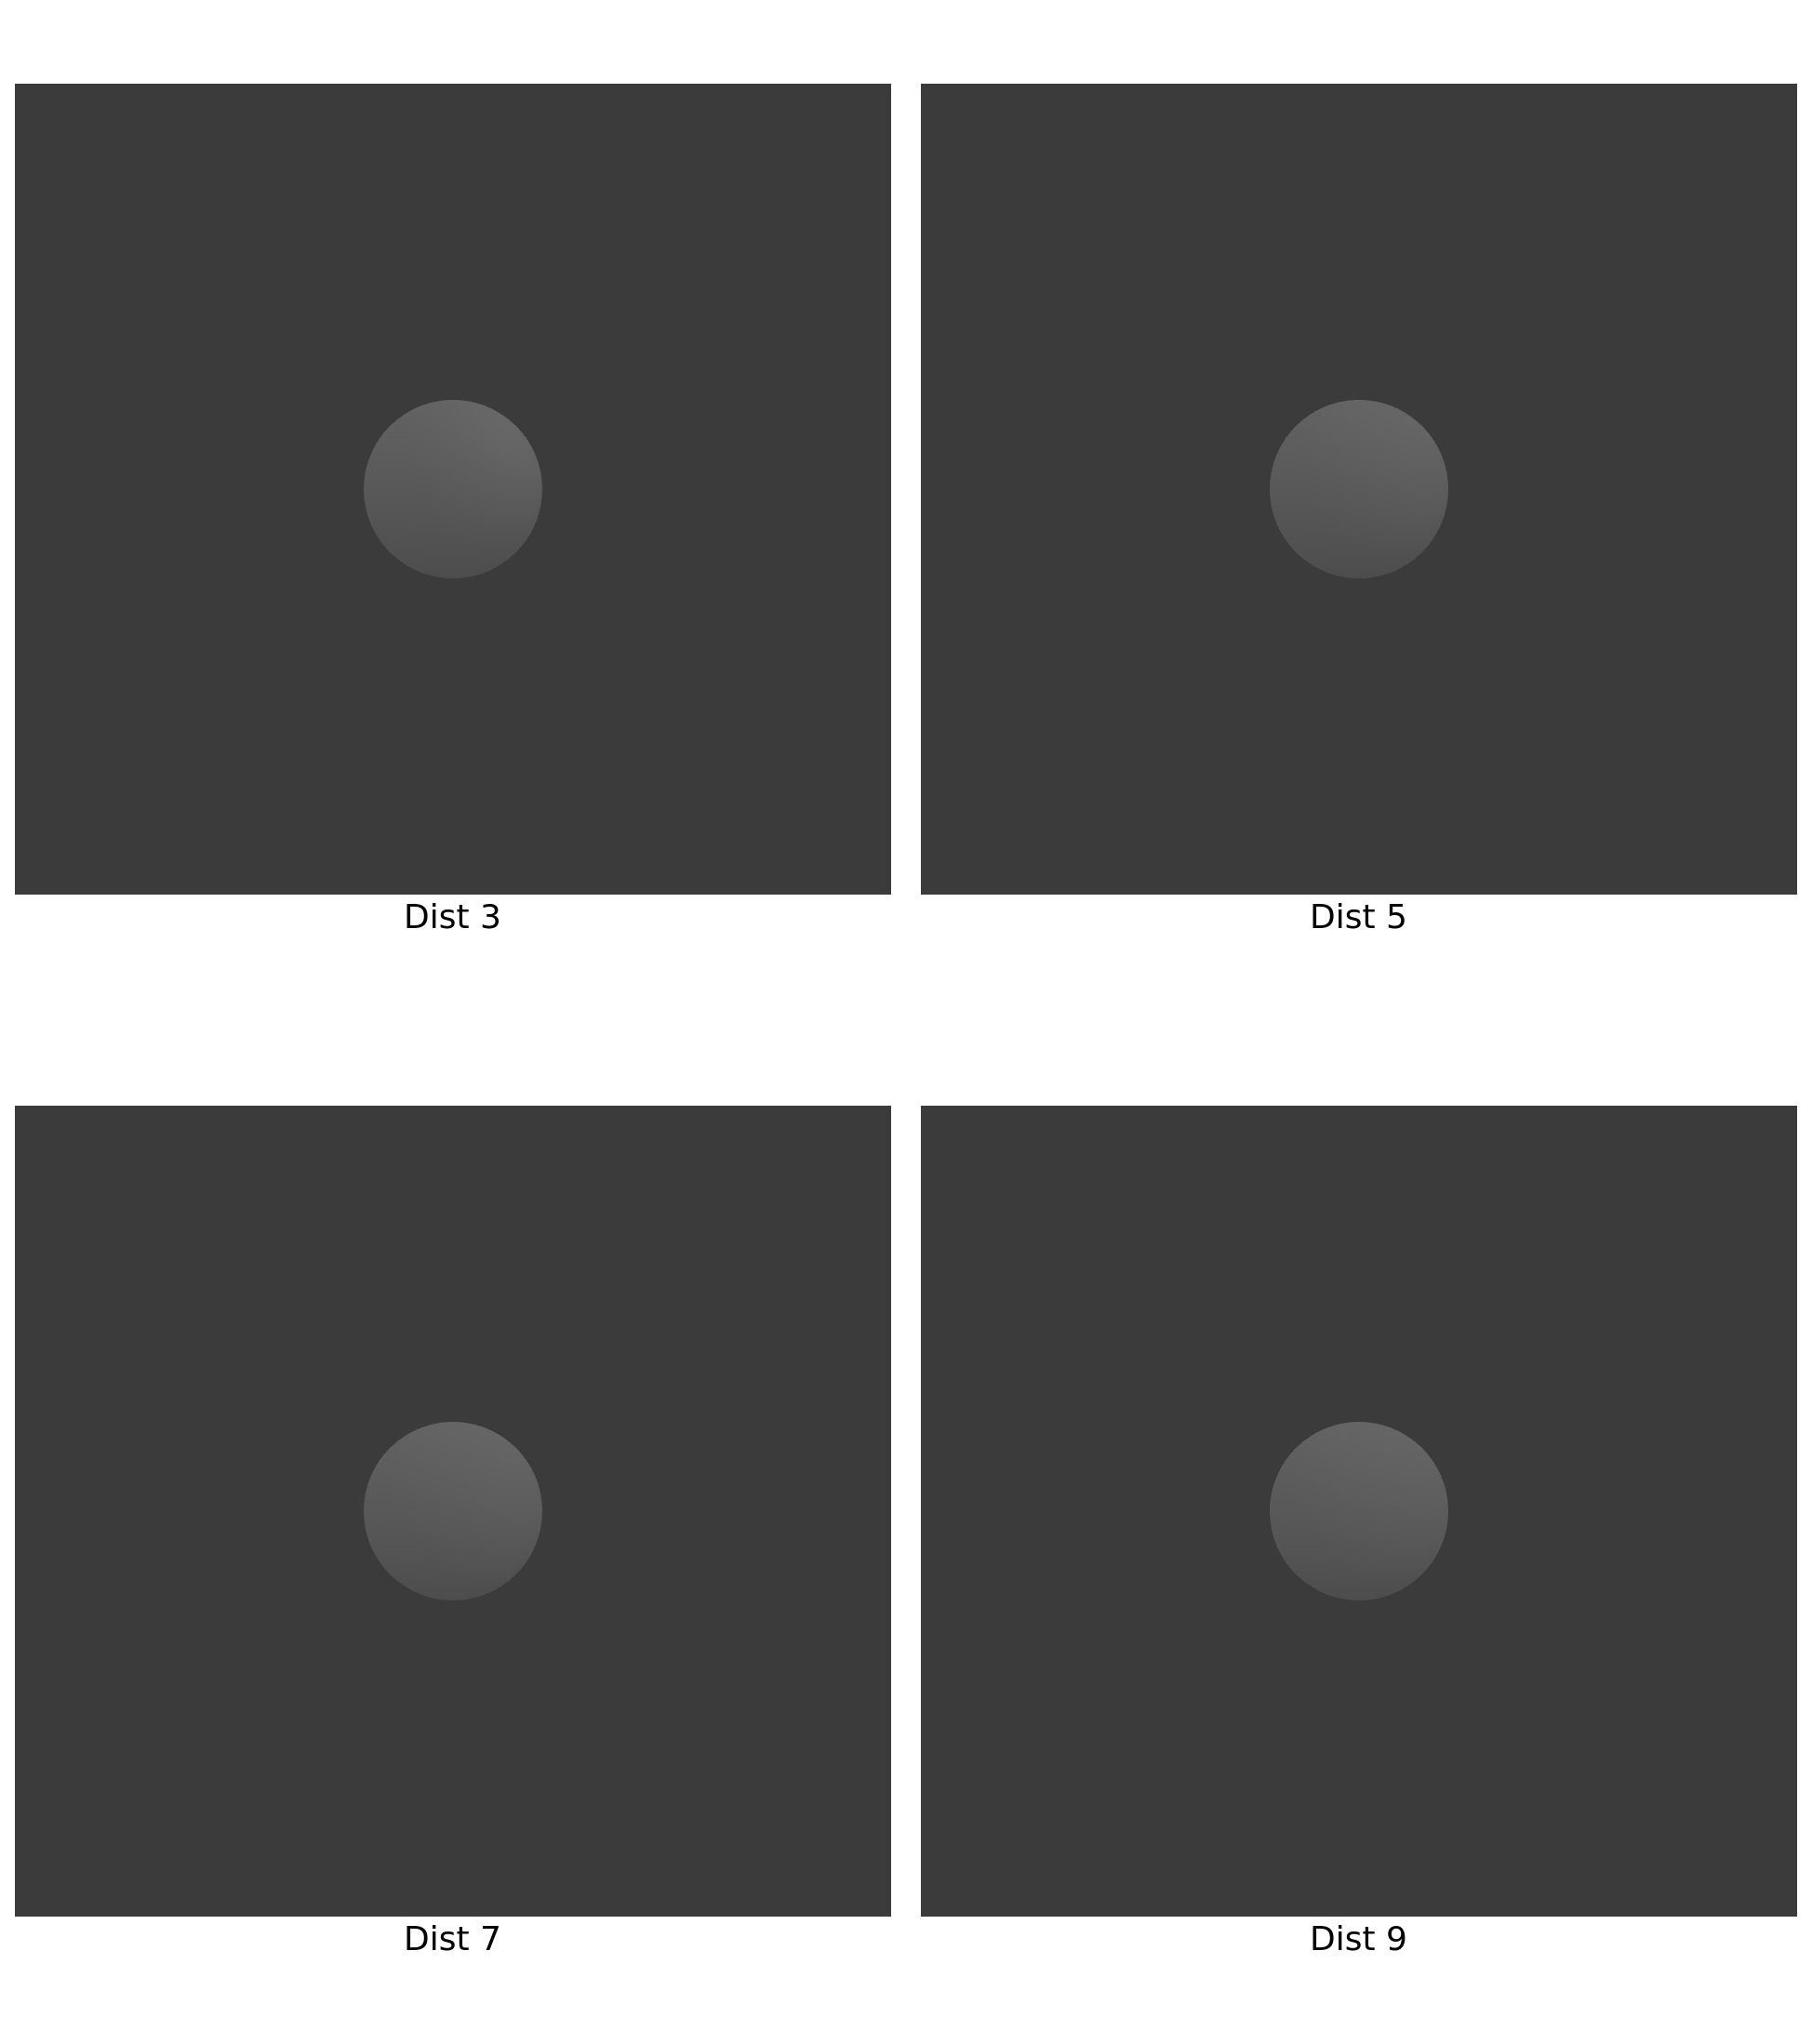
B) Isolate Falloff Character (With Auto-Comp)
- Select 3/4 Key (Soft).
- Enable Auto-Compensate.
- Step Distance from
3 → 9. - Brightness stays comparable; focus on edge transitions and highlight spread.
Replicate with Presets
- 3/4 Key (Hard) — good baseline for distance sweeps with crisp edges.
- 3/4 Key (Soft) — shows how distance alters penumbra feel with softness.
- Product Front — even coverage; distance changes are easy to compare.
- Hard Spotlight — distance emphasizes hot-spot size and contrast.
FAQ
Why does farther feel “flatter”?
As distance increases, rays striking the object are more parallel across its surface, so value rolloff across the form is gentler.
Should I always use Auto-Comp?
Use it when you want to focus on falloff/edges. Turn it off when you want the full exposure impact of distance.