Soft vs. Hard Light
“Soft” and “hard” describe edge quality: broad, gentle transitions vs. sharp, crisp ones. In the tool, adjust Softness, Beam Angle, Distance, and Fill Level to compare.
What Changes With Softness?
- Penumbra width: Soft increases penumbra; hard reduces it.
- Specular character: Soft = broader, dimmer spec; hard = tighter, brighter.
- Perceived contrast: Softer looks flatter; harder reads more graphic.
Remember: Softness works together with beam and distance. A wide beam close to the subject feels softer than a narrow beam far away.
Exercises
A) Same Direction, Different Softness
- Preset: 3/4 Key (Hard) → then switch to 3/4 Key (Soft).
- Keep Az/El fixed; compare edge transitions and specular size.
- Optional: enable Auto-Comp and sweep Distance slightly.
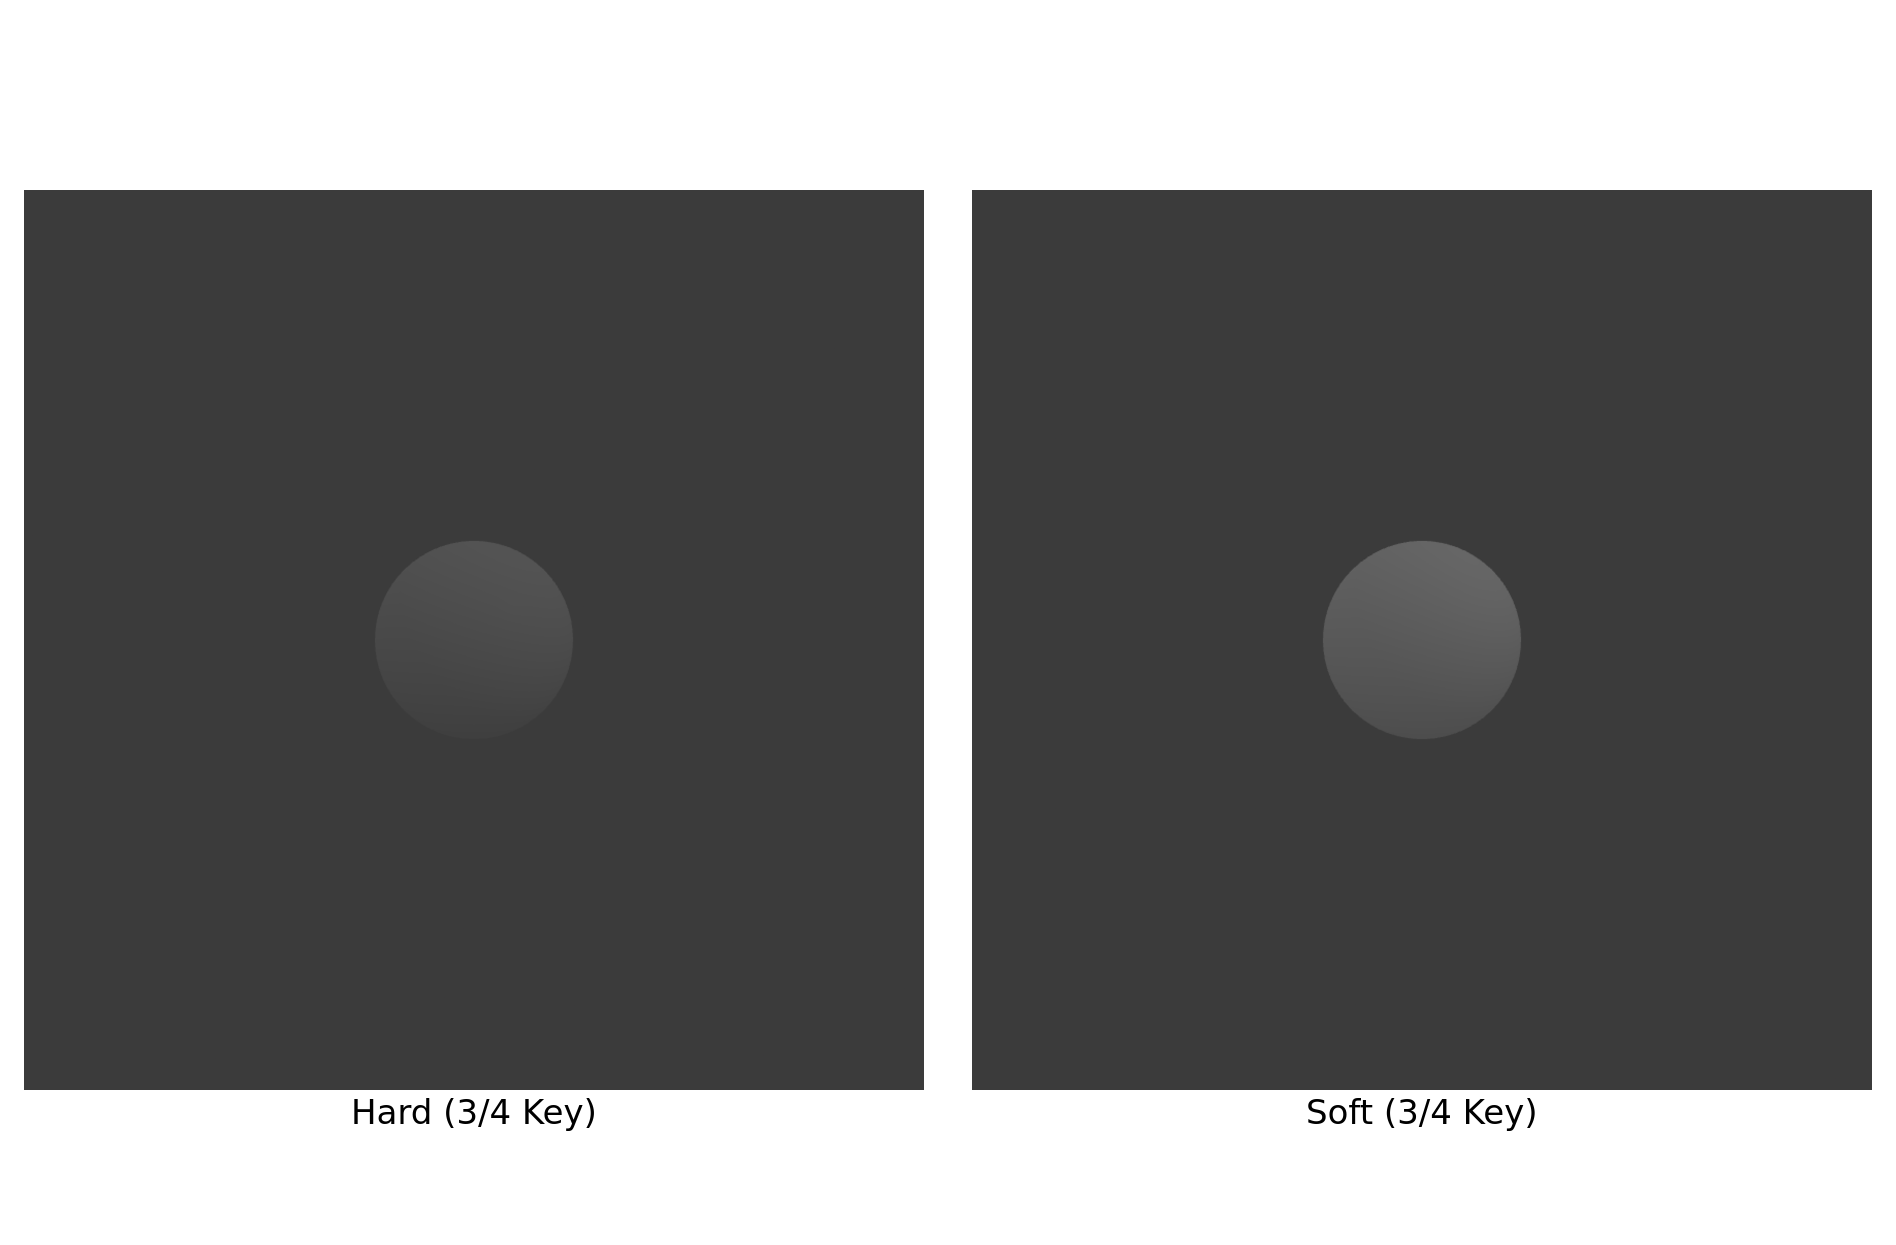
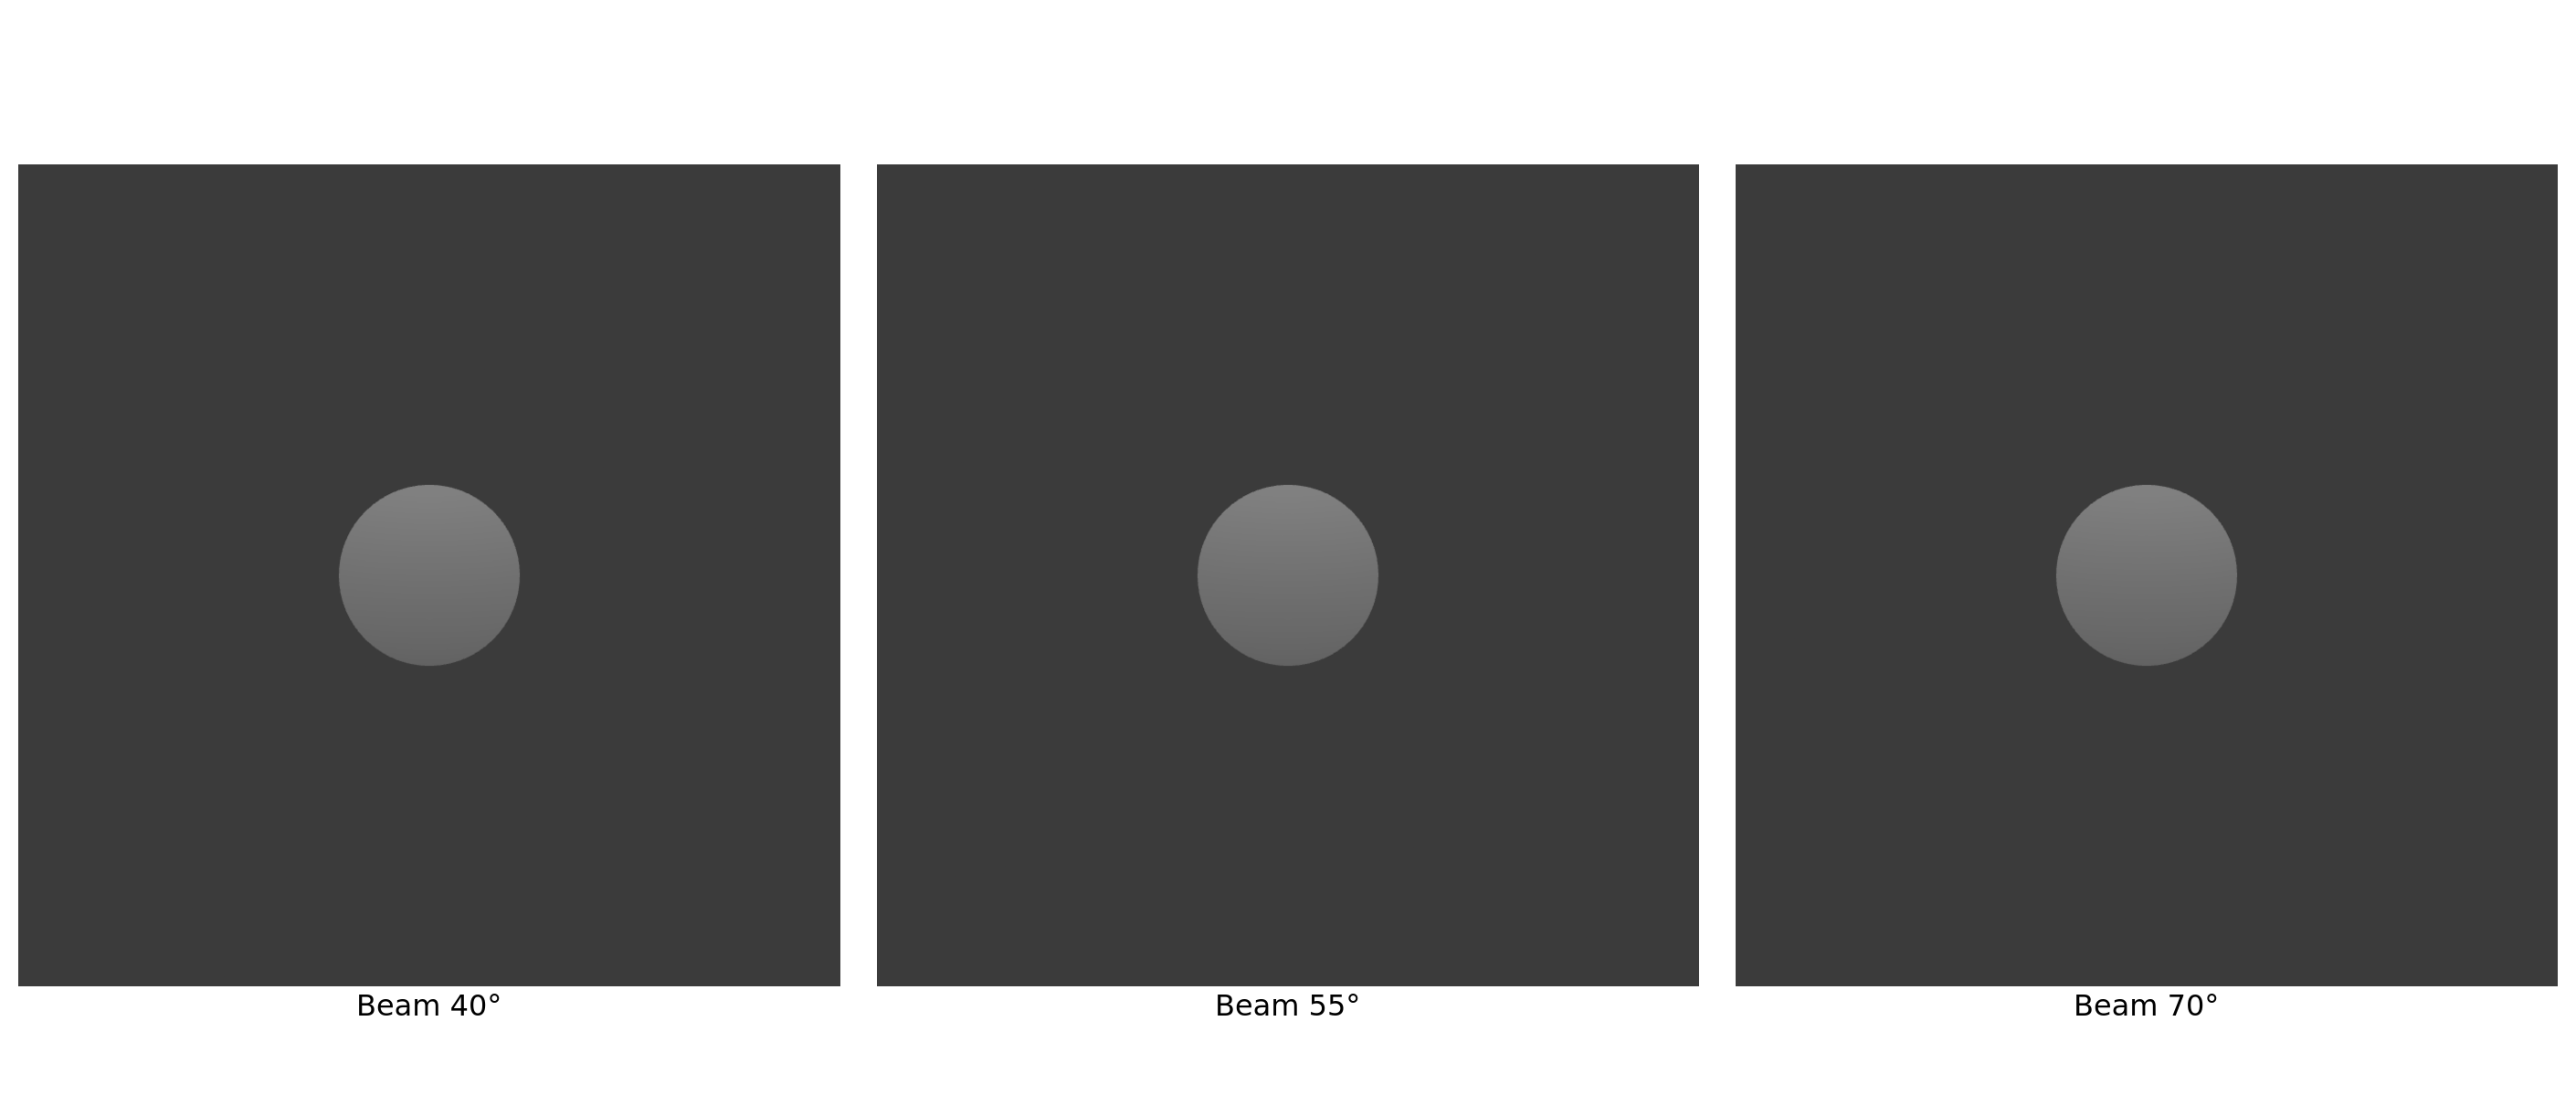
B) Beam Angle + Softness
- Preset: Beauty Soft.
- Sweep Beam Angle from
40°→70°. - Observe highlight width and shadow transition broadening.
C) Hard Spotlight Control
- Preset: Hard Spotlight.
- Narrow Beam to
15–20°, keep Softness = Hard. - Adjust Distance to control hot-spot size and shadow sharpness.

Replicate with Presets
- 3/4 Key (Hard) ↔ 3/4 Key (Soft) — apples-to-apples comparison.
- Beauty Soft / Broad Soft — wide beam, high fill, soft edges.
- Hard Spotlight — narrow beam, crisp edges, punchy specular.
- Rim Back — hard edge light; reduce Fill for silhouette emphasis.
Quick Tips
- Soft ≠ blurry; it’s controlled edge width. Keep shapes neutral for study.
- For portraits, pair Softness with higher Fill for forgiving form.
- For drama, use Hard with low Fill and a narrower Beam.