Lighting Reference: Complete Guide & Methodology
This guide shows how to get accurate, repeatable lighting studies with the Light Reference Generator. You’ll learn the interface, the underlying logic, and practical example setups—plus tips to turn studies into better art.
Quick Start
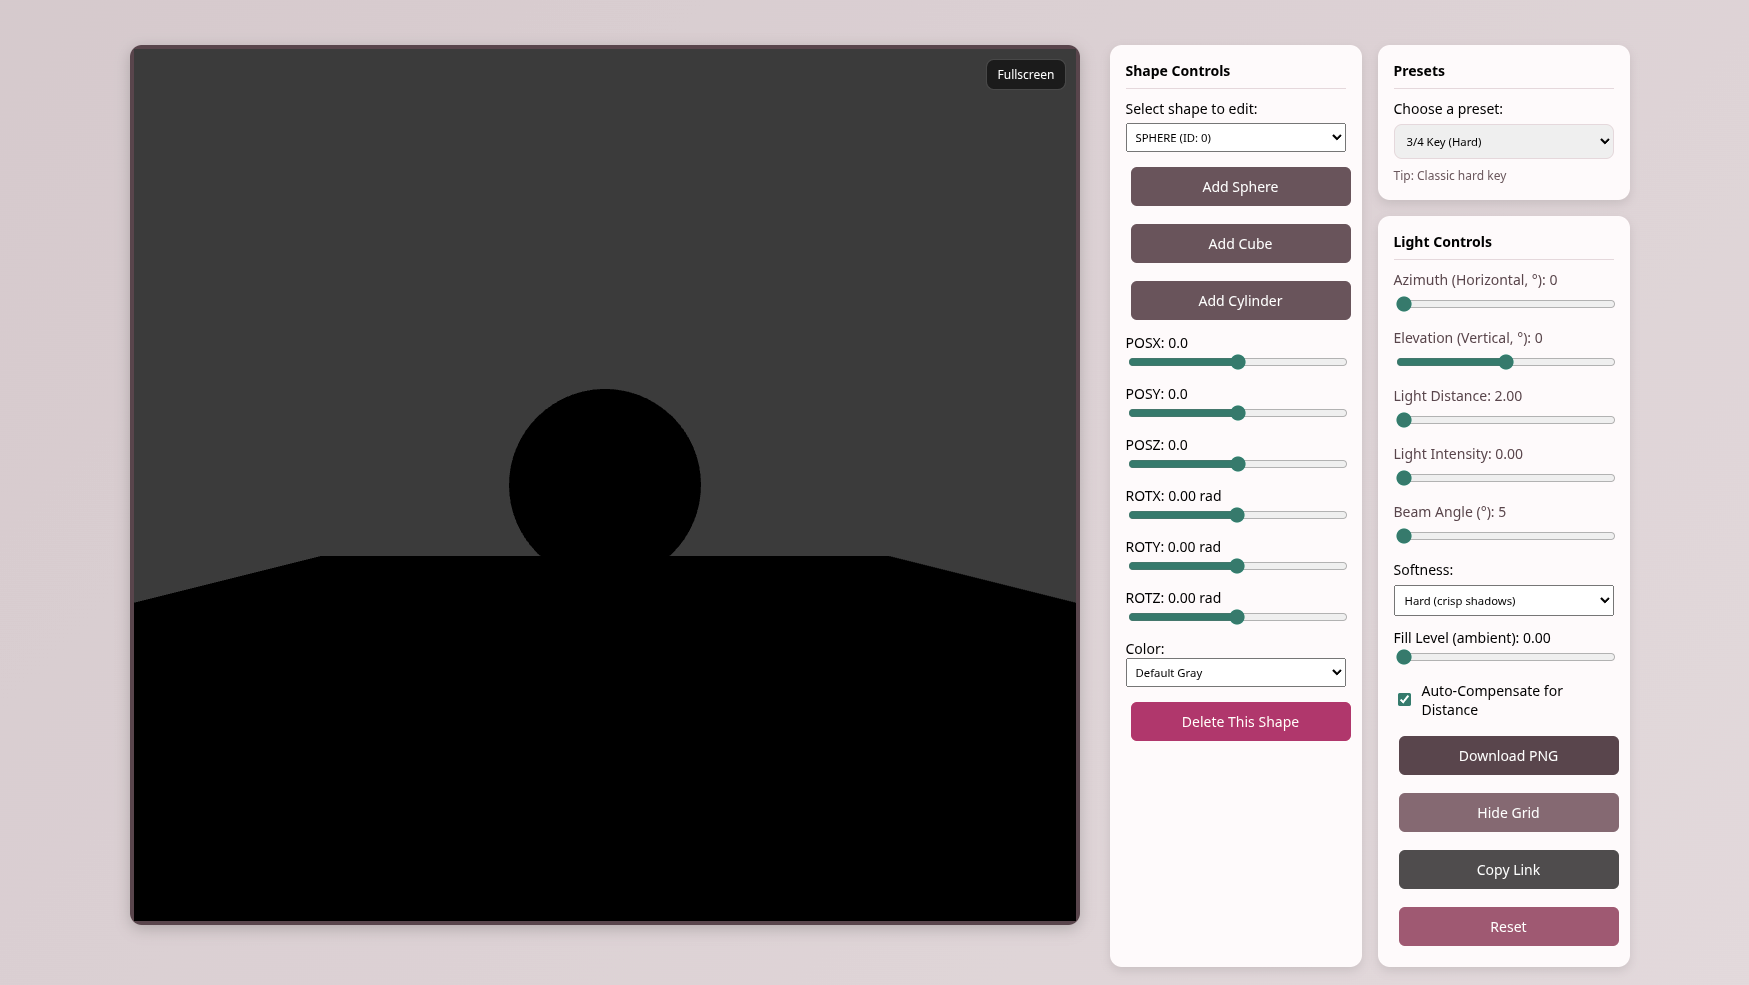
- Pick a shape: Sphere (gradients), Cube (planes), Cylinder (bands/rims). Use the Presets dropdown to jump to a starting setup (e.g., 3/4 Key).
- Aim the light with Azimuth (horizontal) and Elevation (vertical). Try
Az 45°,El 30°. - Refine with Light Distance (in/out), Beam Angle (narrow↔wide), and Softness (hard↔soft shadows).
- Use Fill Level to lift shadows. Toggle Auto-Compensate for Distance to keep brightness comparable while you move the light.
- Fullscreen for a larger viewport, Copy Link to share exact settings, and Download PNG to export.
Methodology (How it Works)
The scene uses a SpotLight aimed at the origin plus a small ambient/hemisphere fill for readability. You place the light with Azimuth and Elevation, then control character with Light Distance, Beam Angle, and Softness. Shading is based on surface normals of the primitives (sphere, cube, cylinder).
Assumptions
- Single key light (SpotLight) with controllable angle (beam width) and penumbra (softness).
- Optional Auto-Compensate scales intensity ~ inverse-square to keep subject brightness more comparable as Distance changes.
- Ambient + hemisphere Fill Level lifts shadows uniformly; GI/SSS/roughness maps are not simulated.
- Camera is fixed; shapes can be moved (POSX/Y/Z) and rotated (ROTX/Y/Z in radians).
Simplified Pipeline
// Degrees → radians
az = deg2rad(azimuth)
el = deg2rad(elevation)

// Light position on a sphere of radius r (Distance)
Lpos = [
  r * cos(el) * sin(az),
  r * sin(el),
  r * cos(el) * cos(az)
]

// Spot setup
spot.angle   = deg2rad(beamAngle)   // spread
spot.penumbra = (softness == "soft") ? 1.0 : 0.0
spot.intensity = baseIntensity * (autoComp ? (r / r_ref)^2 : 1.0)

// Shading (conceptual)
diffuse  = max(dot(n, normalize(Lpos - P)), 0.0)
specular = pow(max(dot(reflect(-Ldir, n), V), 0.0), shininess)
color    = baseColor * (ambient + fill + diffuse * I) + specularTerm
What This Means for Artists
- Beam Angle sets highlight size & spread; Softness sets shadow edge quality.
- Increasing Distance gives more parallel rays and gentler falloff across the object (but also lower illuminance unless compensated).
- Fill Level controls global contrast without moving the key.
Example Studies
A) Classic 3/4 Portrait (Hard)
Preset: 3/4 Key (Hard) — Az 45°, El 30°, Dist 6, Beam 35°, Softness Hard, Fill 0.20.

B) 3/4 Portrait (Soft)
Preset: 3/4 Key (Soft) — same az/el, Dist 4, Beam 60°, Softness Soft, Fill 0.30.

C) Rim Back
Preset: Rim Back — Az 150°, El 25°, Beam 20°, Fill 0.10. Clear edge separation; keep fill low for contrast.

D) Beauty Soft
Preset: Beauty Soft — Az 0°, El 60°, Dist 4, Beam 70°, Softness Soft, Fill 0.50.

Tips for Artists
- Use Presets as a base, then tweak Distance/Beam/ Softness to taste.
- Study edges: Softness + Beam shape the penumbra; Distance affects falloff feel across the form.
- Compare systematically: Toggle Auto-Compensate on/off while changing Distance to feel exposure vs. falloff differences.
- Annotate downloads: Write az/el/dist/beam/soft on the PNG corner; keep a series by varying one control at a time.
- Accessibility: All sliders are keyboard operable; labels and
aria-labelaid screen readers.
FAQ
What does Auto-Compensate for Distance do?
It boosts the key light’s intensity roughly by the square of the distance so the subject remains similarly bright as you move the light away, while still changing falloff and shadow character.
Are the values physically exact?
No. The tool is designed for visual intuition and repeatable studies rather than photometric accuracy.
How do I share an exact setup?
Click Copy Link. The URL encodes your settings (az/el/dist/beam/soft/fill/preset/shape/grid).
Changelog
- 10/18/2026: Upgraded guide for SpotLight, Distance, Beam Angle, Softness, Fill Level, Presets dropdown, shape rotation, Fullscreen, Copy Link.