Cube Lighting Reference: Draw Light and Cast Shadows
A cube makes light direction easy to study: each flat face has a clear value, and its cast shadow shows where the light is coming from. Use the free simulator to build a cube lighting reference, then draw the same cube under a different light.
Open the cube lighting referenceThe link opens a cube with a hard light at 45° azimuth and 30° elevation. Change one control at a time to see what it does.
Read the lit planes, shadow planes, and cast shadow
Start with a neutral cube and a single light. Identify the lightest visible plane, the middle value, and the darkest plane. Their order depends on the light direction and cube orientation; the top is not always the brightest.
A form shadow belongs to the cube itself where a face turns away from the light. A cast shadow falls on another surface because the cube blocks the light. Keep these separate in your drawing.
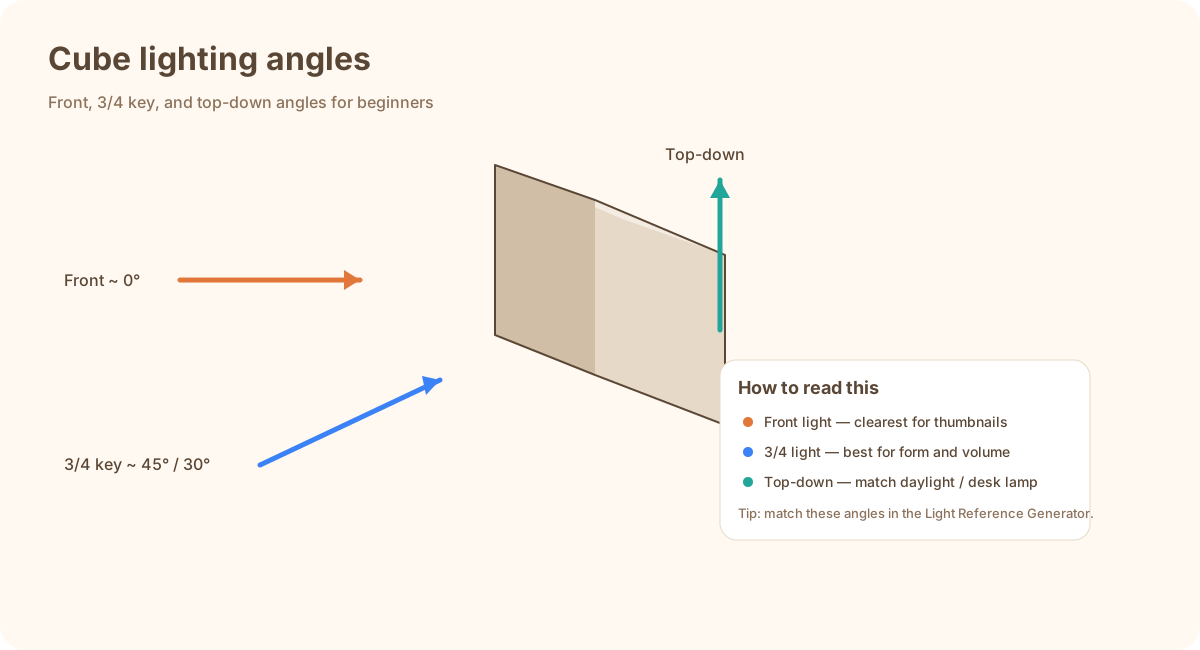
This diagram illustrates directions. Use the interactive tool to observe the actual shading and cast shadow for each setup.
Four cube lighting references to try
These links use the same cube, distance, intensity, and fill. The light direction changes so you can compare the results. Angles describe the tool’s light controls; what you see also depends on the cube and camera orientation.
| Reference | Azimuth / elevation | What to draw |
|---|---|---|
| Three-quarter light | 45° / 30° | Compare the top and side planes. Block in three values before adding detail. |
| Side light | 90° / 15° | Compare the lit side and the shadow side, then trace the cast shadow on the ground. |
| Light from above | 0° / 75° | Watch the top plane brighten and compare the shorter shadow with a lower light. |
| Backlight | 160° / 25° | Study the dark near planes and any far planes that catch the light. |
A 15-minute cube drawing exercise
- Minutes 0–3: open the three-quarter reference and sketch the cube’s perspective. Mark the light direction with an arrow.
- Minutes 3–7: block in three values for the visible planes. Add the cast shadow as a separate shape. Avoid blending across a sharp cube edge.
- Minutes 7–11: switch to side light. Keep the cube’s perspective and compare how the plane values and shadow direction change.
- Minutes 11–15: compare hard and soft light at the same angle. Redraw the shadow edge, keeping the overall light direction consistent.
Use Download PNG in the tool to save each reference. Label the image with its azimuth, elevation, and softness so you can repeat the study later.
Open the same cube with soft lightCommon cube shading and shadow mistakes
- Making every face the same value. Compare each plane’s angle to the light before shading. Some directions legitimately light two faces similarly.
- Drawing the shadow toward the light. On the ground plane, follow the direction away from the source. Compare the cube’s base with the shadow’s far edge.
- Using soft gradients on every face. Begin with clear value groups on a plain cube. Save gradual transitions for light falloff or softer forms.
- Changing several controls at once. Keep intensity and fill steady while studying direction. Then test softness separately.
If the dark planes are difficult to read, raise Fill slightly. If you are studying distance and brightness, read the light falloff guide and compare Auto-compensate on and off.
Cube lighting questions
How do I choose a light source for a cube drawing?
Begin with the three-quarter setup above. Draw an arrow toward the cube to record your source direction. Keep that direction consistent across the plane values and the cast shadow.
Why does a low light produce a longer shadow?
With a cube resting on a flat ground plane, a lower light angle usually stretches the cast shadow farther along the ground. Raise the elevation and compare the shadow while leaving the other controls unchanged.
Can I use a sphere or cylinder instead?
Yes. A sphere helps you practice gradual value transitions, and a cylinder combines a curved surface with flat ends. Compare a sphere at the same light angle after your cube study.